Have you ever wondered how to record your videos on Mac? Do you want to record your screen activities on Mac so that you can use them to show your projects or presentations to others? Well, there are many free Mac screen recorder and screen capturing software out there on the internet.
There are dedicated video recording and screen capturing software applications designed for Mac that you can use for training and teaching purposes or make presentations. You can use the free Mac screen recorder software to share your screenshots or videos you capture with your friends on the web.
If you are finding it difficult to find the most suited free Mac screen recorder for your use, then I have made it simpler by listing down top 10 best free screen recording software you can get for your Mac. But before that let’s explore some basic methods to capture screen on Mac.
Contents
- How to Take Screenshots on Mac?
- How to Take Screenshot of a Specific Area on Mac?
- How to View Captured Screenshots on Mac?
- How to Change Default Save Location for Screenshots on Mac?
- How to Record Screen on Mac?
- Top 10 Best Free Mac Screen Recorder Software to Capture Screen Easily
- 1. QuickTime
- 2. Open Broadcaster Software (OBS)
- 3. Monosnap
- 4. QuickCast
- 5. VLC
- 6. Movavi
- 7. Screencast-o-Matic
- 8. Any Video Converter Ultimate
- 9. Jing
- 10. Screen Recorder Robot Lite
- The Pro Review from TechReviewPro
How to Take Screenshots on Mac?
Taking a screenshot on Mac is straightforward and easy with just the press of a few keys. Though it is not so effortless as you do with a “single“ Prntscr key on Windows PC. But despite that, it’s easy to take a screenshot on Mac if you get a habit of doing it every day.
Step: 1 Open the software/app/window or screen that you want to capture on Mac.
Step: 2 Press Command+Shift+3 simultaneously.
This will take a screenshot of your whole screen and automatically save it to your desktop which you can access in Finder>>Desktop. Although there is a way to tweak the settings and change the default save location of the screenshots in Mac. I’ll let you know in the later part of this article.
How to Take Screenshot of a Specific Area on Mac?
Taking a screenshot on Mac is as simple as pressing Command+Shift+3 simultaneously on the desired screen that you want to capture. But that captures the whole screen on Mac. However, things are different if you want to capture a particular area of the screen.
To take the screenshot of a particular area of the screen on Mac, follow the steps below:
Step: 1 Open the software/app/window/screen that you want to capture.
Step: 2 Press Command+Shift+4 simultaneously. This will bring a crosshair on your screen. Now drag the crosshair without releasing trackpad to select the particular area you want to capture. Finally, release your mouse or trackpad button.
That’s it! Your desired particular screen area gets captured, and you can find the screenshot on your desktop as a png file.
In the case, you changed your mind and wanted to capture full screen again, just press Spacebar (after pressing Command+Shift+4). This will bring a camera icon on your screen, click anywhere, and your whole screen screenshot is taken.
How to View Captured Screenshots on Mac?
Once you take a screenshot on Mac, the system instantly saves it on your desktop screen which you find under Finder>>Desktop. Now it’s all yours. Either open or rename it with your desired name which is highly recommended since the system saves it with the name as (date and time of screen capture).png
To open and view the taken screenshot, you can use the default Preview app or any other third party apps installed on your Mac.
How to Change Default Save Location for Screenshots on Mac?
As promised earlier, here we go. Let’s learn how to change the default save location for screenshots on Mac. If you take a screenshot on Mac using the keys Command+Shift+3 or Command+Shift+4 which are the Mac keyboard shortcuts for capturing screen, the screenshot file is instantly saved on the desktop screen.
This is good if you want to quickly access that screenshot as you can view it on your desktop screen without the need of navigating to folders. However, if you are organized person like me and hate keeping your desktop screen messy, you would certainly want to change the default save location of screenshots on Mac.
To do this, follow the steps as mentioned below:
Step 1: Open Spotlight Search from the top right menu bar and search for Terminal. Quick tip: you may use command+space bar keys simultaneously to open spotlight search.
If you are a complete beginner or switching from Windows to Mac, let me tell you, just like you do command operations with Command Prompt on Windows, you have Terminal on Mac.
Step 2: Before you open Terminal and type anything, first decide the location where you want to save screenshots and create folder accordingly.
For example, if you want to save screenshots in a sub-folder “Screenshots” of folder “Downloads,” create a sub-folder “Screenshots” in the folder “Downloads” first.
Step 3: Now come back to Terminal and enter the following command:
It’s worth noting that here we want to save screenshots by default in Downloads>>Screenshots, i.e., Screenshots subfolder of the Downloads folder. You may change it according to your preference but make sure you have the folder ready before running commands in the Terminal.
Step 4: Apply changes by entering the following command:
All done! Now whenever you take a screenshot on Mac, the system automatically saves it in your preferred file location.
Further, if you want to change the default file format for screenshots from png to any other format, then enter the following command:
Followed by:
If ever you changed your mind and wanted to revert back to default option of saving screenshots on the desktop screen, you can quickly do so as well.
To do this, type the following command in the Terminal:
And don’t forget to add the command to apply changes in the Terminal:
That’s it! You have your custom location of captured screenshots on Mac.
Also Read: 9 Best Text Editors for Mac
How to Record Screen on Mac?
Recording screen on Mac is simple. Unlike Windows or Linux where you need any third party screen recording software(although Windows 10 brought default option with Windows key + G via Game DVR menu, that records very low-resolution video), Mac comes with default media player named “QuickTime Player” which does the job efficiently.
I’ll discuss more about QuickTime Player later in this article. Before that let’s learn how to record screen on Mac with the inbuilt option.
Step 1: Open QuickTime Player app on your Mac.
Step2: Select File then New Screen Recording after launching the QuickTime Player app on your Mac. Alternatively, press Command+Control+N keys simultaneously if you like using keyboard shortcuts on Mac.
Step 3: Click the red “Record” button to start recording your screen on Mac. It asks you to record full screen or a part of the screen. You may either click to start full-screen recording or drag and adjust it to record a particular part of the screen.
Step 4: Click “Stop” button (which can be located at the top-right of the menu bar) after completion of recording. Then save and export the recorded file to your desired file location.
That’s how you record screens on Mac. Isn’t it simpler and less complicated than Windows and Linux?
Also Read: How to Capture Windows Screen? – Top 10 Best Screen Recording Software for Windows
Top 10 Best Free Mac Screen Recorder Software to Capture Screen Easily
If you are still not satisfied and looking for free screen recording software for Mac, then stay tuned as you’ll find top 10 best free Mac screen recorder software below.
1. QuickTime
If you are looking for a free and easy to use screen recorder for Mac systems, then there is an inbuilt app on your Mac OS that you can make use to record screenshots and videos that flash on your screen. We call this QuickTime player.

It is the best free tool you can use to meet your screen recording needs. It can capture frames at 15fps along with microphone audio.
There is no need for you to spend a single penny to get this free Mac screen recorder software on your Mac systems. You just need to launch the QuickTime tool on your system and click on the start screen recording option from the File menu to start a session.
2. Open Broadcaster Software (OBS)
OBS is a powerful free Mac screen recorder software tool that offers plenty of features that you find in any of the paid software. OBS is a free, open source streaming and recording software that provides real-time source capture.
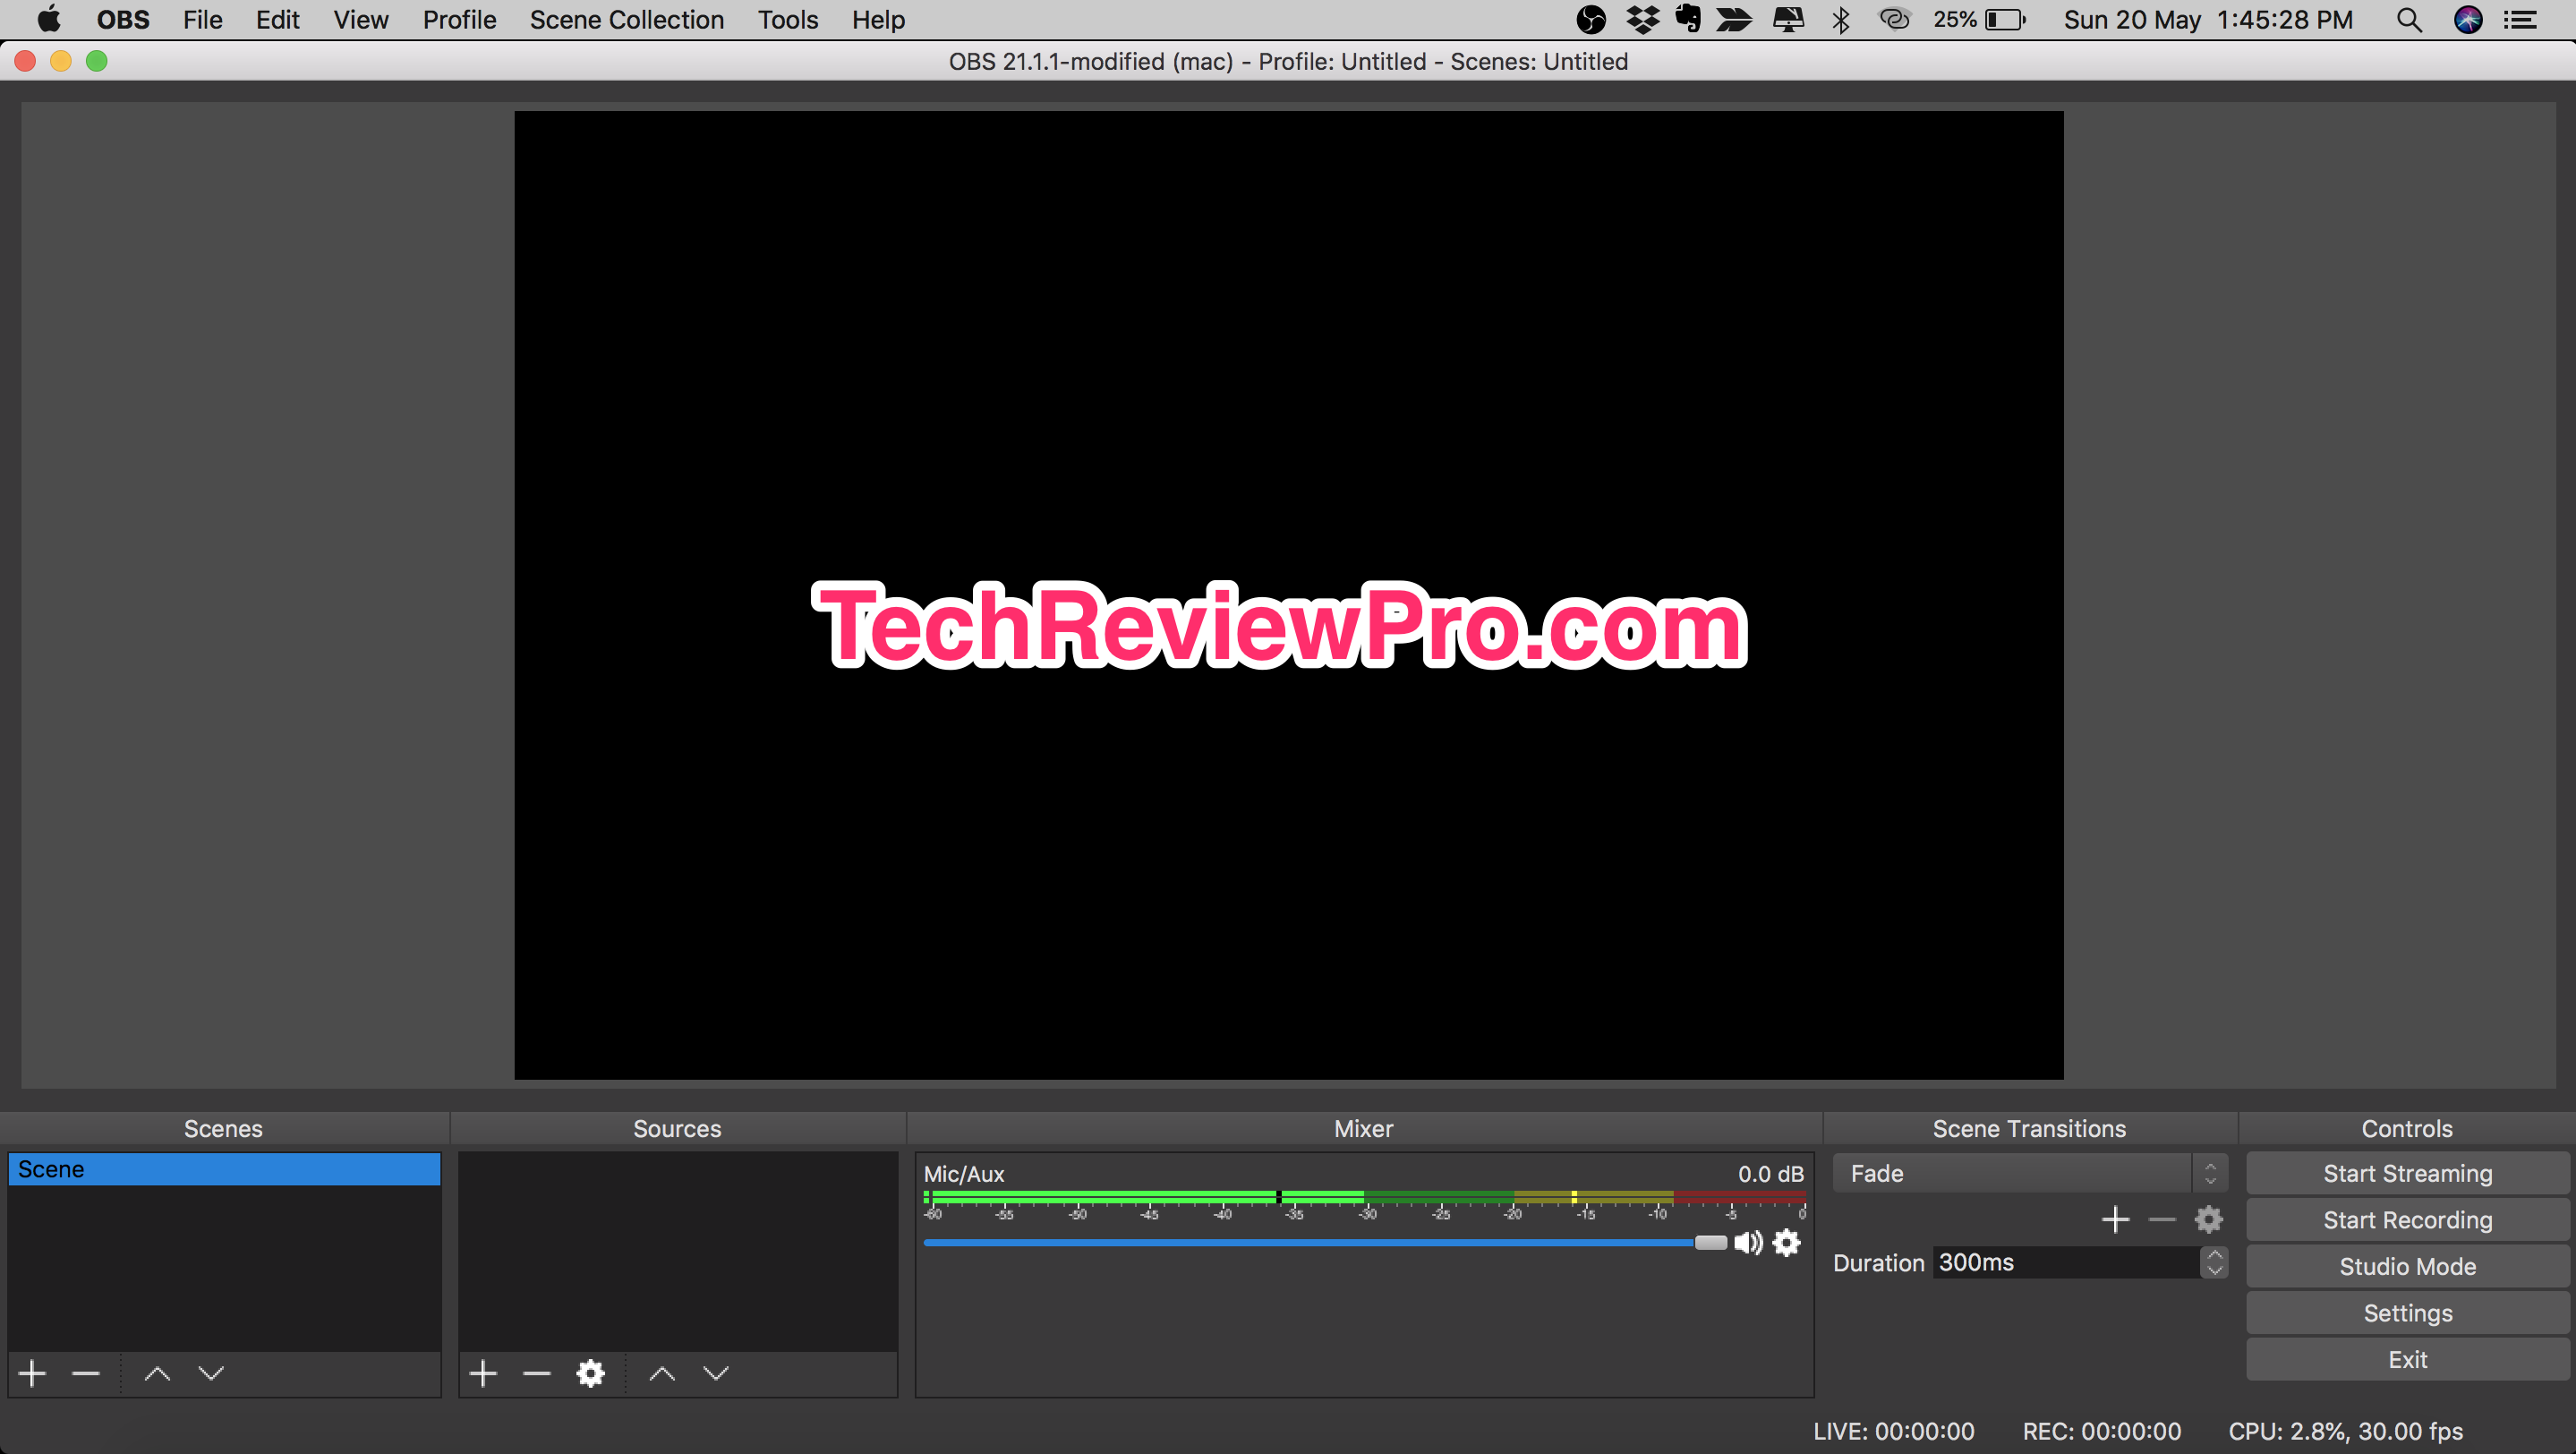
The software is compatible with all Mac OS versions. It is the best when it comes to recording from audio and video sources. It is worth a try if you are looking for a very powerful free screen capturing tool for Mac. Some of its features are:
- Capture a broad range of presets like full screen, specific window, etc.
- Parameters can be changed many times while recording.
- Allows editing.
Download Open Broadcaster Software
3. Monosnap
Monosnap is another popular and free Mac screen recorder software tool you can use to record anything that comes on your screen. You can use the screen recording software tool not just to record on-screen images, but you can use it to record audio as well, through a 3rd party utility.

This screen capturing tool is compatible with Mac OS X 10.8 or later with 64-bit processor. You can download it for free from the Mac App Store. The key features of Monosnap are:
- It records at 60fps.
- Records webcam video and mic audio.
- Smooth playback.
- Capture full screen or part of a screen.
- 8x magnifier allows you to crop the pixels perfectly.
- Important details of an image can be highlighted with arrows, text, shapes, and pens.
- Screen shooting hotkeys can be customized.
Download MonoSnap Screenshot Editor for Mac
4. QuickCast
QuickCast is a screen recording software for your Mac computer that records things from your screen with just a single click. It is a free screen capturing tool that you can use on Mac computers with Mac OS X 10.8 and above to get quick and fast screenshots.
The free screen capture software for Mac allows you a maximum video recording of up to 5 minutes. It is an app that you can use on your menu bar for quick screen capture access. It just needs one click to start capturing the screen action.

This free Mac screen recorder software tool offers 3 minutes and 5-minute recording options according to your needs. Once the recording is completed, the app will ask you whether you would like to share the video or to publish it through the QuickCast servers.
You can use this tool to capture either a custom area or an entire screen, according to your need. The features of QuickCast are:
- Option to upload the saved video or images right from its servers.
- Automatically saves the screenshot or the recorded video on your system.
- You can record your face on the screen recording using a webcam.
- Fast, simple and easy to use tool to record screen images and videos on your Mac.
Update: Quickcast is no longer available. Visit: Quickcast.io
5. VLC
If you thought that the VLC was just a video player, then you need to think once more. There is a screen capture option that you will find in the VLC player that is sufficient to meet your simple screen capturing needs.
If you want to record a screen action quickly and share it with your friends, then VLC is an option. Capturing the events on your screen is very easy and relatively straightforward when you use the VLC screen capturing tool. It will only allow you to capture the entire desktop.
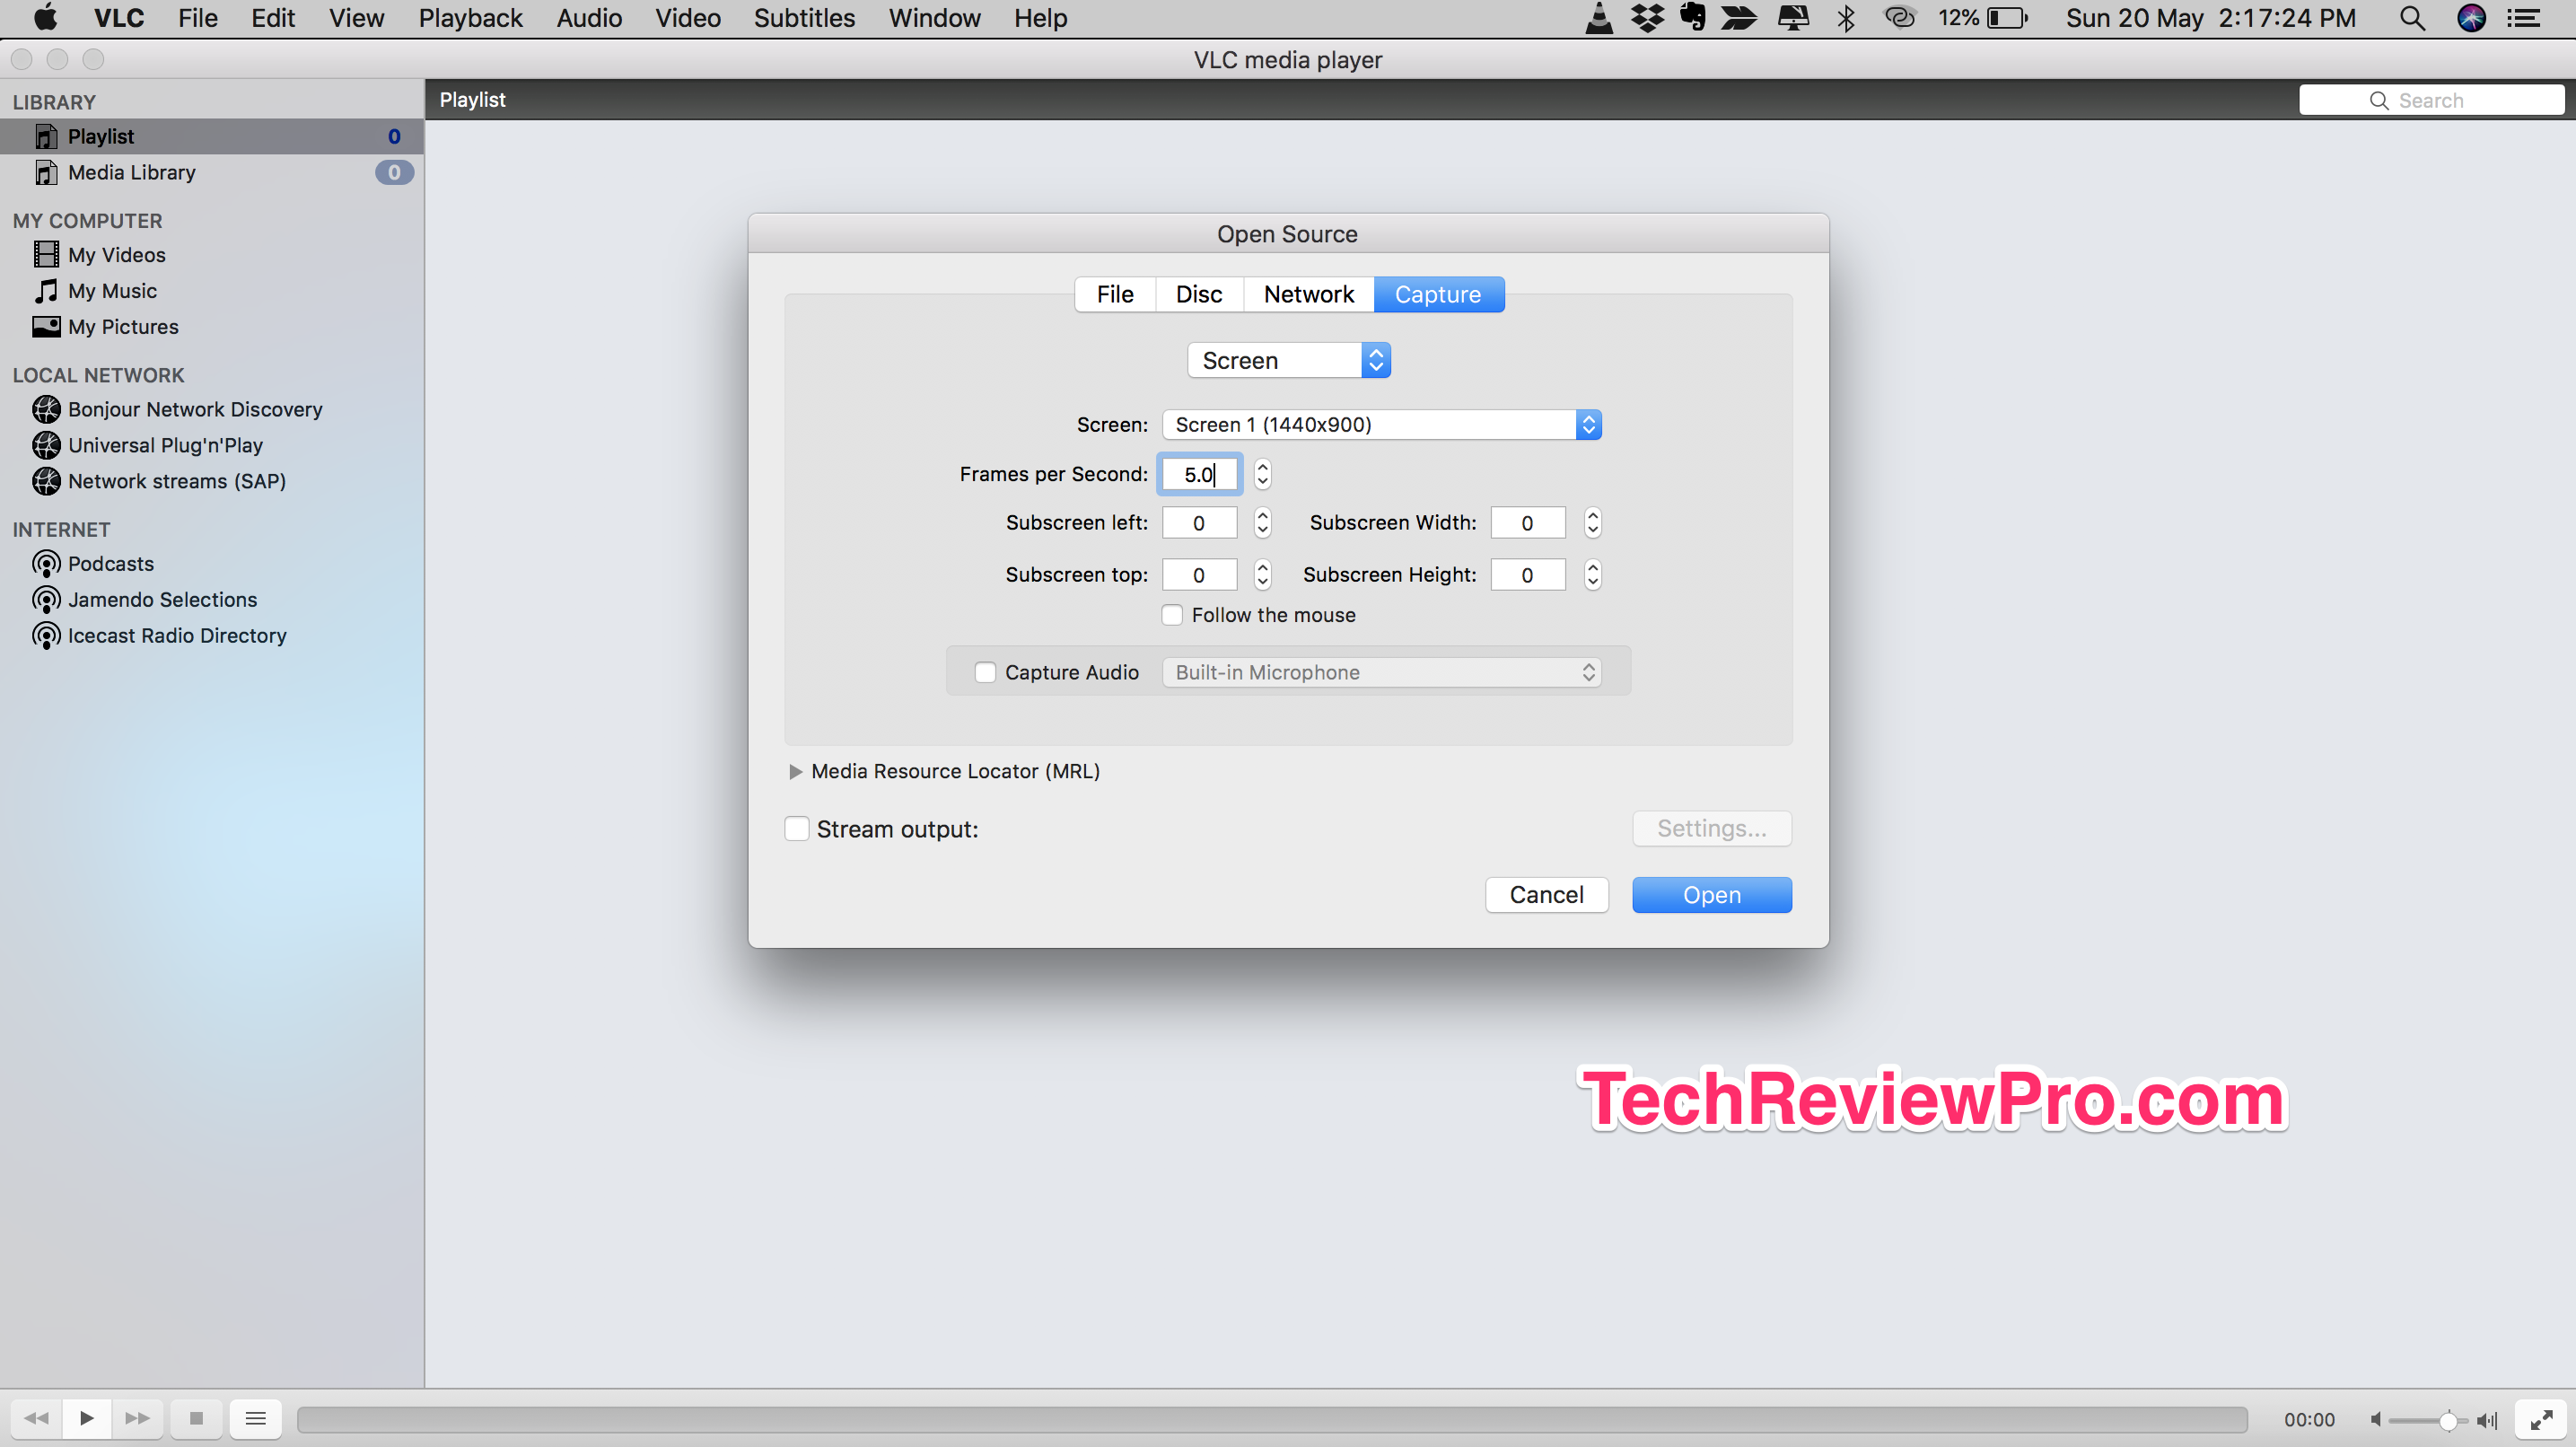
Earlier, there was no provision to record the voice for the video; you were needed to record the voice separately and stream it when playing the recorded video. However, the recent updates have got the voice recording functionality as well. You can choose from the built-in microphone or an external microphone option before starting the recording. The features of VLC for screen capture are:
- The option to choose the audio input you want to capture.
- The Max frame rate of 30fps which is decent.
- Follows the mouse for easier focus.
- The file you record will be automatically saved in your videos folder.
Download VLC Screen Recorder for Mac
6. Movavi
Movavi is not just a video recording software or video converter software. It is also a user-friendly screen capturing tool for Mac to capture any activity happening on your desktop. It captures everything that appears on your screen in high quality.
Movavi is a powerful desktop recording tool that allows you to choose the frame rate of the captured video and adjust the capture region. You can move the capture frame on your screen to record any part of the image on the screen.
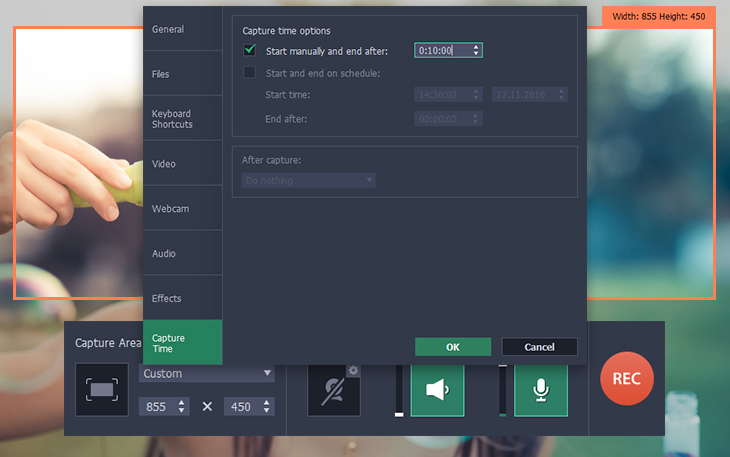
It allows you to capture Mac desktop screenshots and convert it into any desired formats like PNG, JPG, etc. You can save the video you record in any format you want. The key features of Movavi are:
- Enlarge or downscale the captured image by dragging the edges of the frame.
- Either hide or show the mouse movement based on your preference.
- Option to choose one or more audio sources.
- Record your screen with up to 60 frames per second capacity for smoother playback.
Download Movavi Screen Recorder
7. Screencast-o-Matic
The Screencast-o-Matic is an online screen recording tool that is very convenient and easy to use. There is a free version, and you can use it as much as you like.
The free version gives you the option to record up to 15 minutes of whatever you see on your desktop screen. The tool presents you the option to record both webcam and the mic input. The recording is done in 720p video format.

There are limited options offered for the freemium version, and the paid version opens a plethora of features like video editing in real time, etc. The other features of Screencast-o-Matic are:
- Easy to publish the recorded stuff on YouTube.
- Save the recorded file as a video file.
- Easy to create and share the screen recordings online.
8. Any Video Converter Ultimate
The Any Video Converter Ultimate for Mac is a video recording software tool you can use to capture anything that comes on your screen. It is a very powerful tool that you can use to record videos that include live streaming videos, online videos, live sports, news feeds, etc., in high video and audio quality.

You have the option to record full screen or make use of recording image option to record only a specific area of the screen. You can send the capture parameters while recording. Also, you can convert the recorded images and files to any format you want.
Download Any Video Converter Ultimate
9. Jing
Jing is a video and screen capturing software for Mac that will allow you to easily capture still images, basic video, and animation you watch on your desktop screen and share them on the web.
You can choose any region or window that you want to record, and Jing will capture everything that happens in the chosen area. It allows you to add visual elements to the captured screenshot. Also, helps in sharing the captured items quickly on the web. The salient Jing features are:
- Readily sits on the desktop to capture anything that you see on the screen.
- Shares the screen images you record instantly.
- You can point or emphasize an area of the screen using a text box, highlight or arrow option.
10. Screen Recorder Robot Lite
Screen Recorder Robot Lite is a powerful screen recording app for Mac that you can use with ease on your Mac systems. You have the choice of choosing the area or region of the screen that you would like to capture.
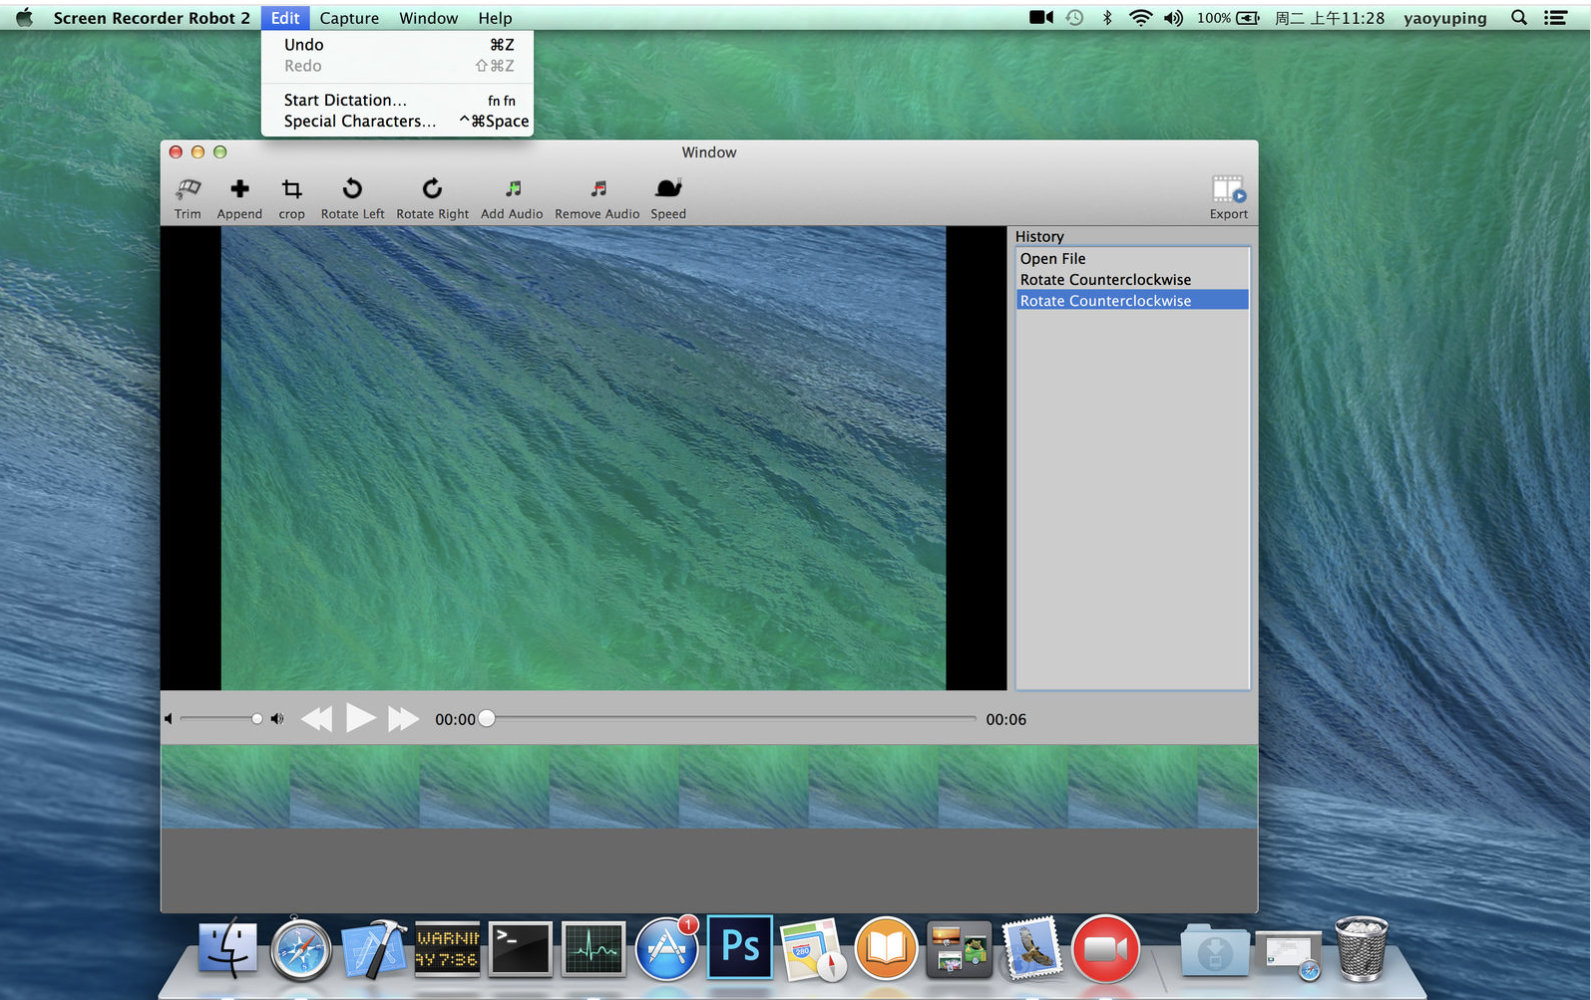
You can use the magnifying glass to locate the exact area you want to capture. It allows you to adjust the area you choose after you select it. The free Mac screen recorder software allows you to trim, crop or rotate the video you have captured apart from adjusting the video speed, removing audio, adding new audio, etc.
Also, you can save the images as Tiff, JPG, PNG, BMP, etc. You can edit the screenshot images with change options like graph size adjustment, graph color change, undo and redo function, etc.
Download Screen Recorder Robot Lite
Also Read: Top 5 Best Linux Screen Recorder for Screen Recording in Linux
The Pro Review from TechReviewPro
Screen capturing on Mac or recording your Mac screen is quite essential as you’ll often find yourself in needs of recording your screen on Mac. Most of the times the default option for taking screenshots will do the job. Although, I find the default options limited because of no fancy functionalities for annotations. So, there comes the need for third-party screen capturing tools.
If you are using a Mac, and you just need to record your screen, you should be fine with QuickTime Player. However, if you want more, you should check out other free Mac screen recording software tools. Which free screen recorder for Mac, you are going to try? Let me know in the comments below.
Also Read:
- Top 7 Best Draw on Picture Apps for Android
- Best uTorrent Alternatives for Mac OS
- How to Screenshot on Snapchat Without Them Knowing?
- Top 10 Best Video Editing Software
- Best Data Recovery Software for Mac