Affordable software solutions are often underrated – and so is Filmora9. We definitely see a potential for Filmora being an Adobe Premiere Pro / Final Cut Pro alternative for most of the video editors and creators who are looking for easy/quick editing tools to enhance their videos.
Also, compared to its previous version (8)- Fimora9 comes with a bigger set of features that will definitely attract more users than ever before. However, all that glitters isn’t gold – so let us take a closer look at the features and how it works.
Contents
What’s New In Filmora9?
- Upto 100 Video Tracks supported: Now, you can work with multiple videos in the workarea to create the best possible video content.
- Video Stabilization Improvements: You can try introducing video stabilization in the editing phase if you have shaky footage, now with the new update you can do it better.
- Cross-compatibility: You can choose to work on Mac or Windows without worrying about anything else. Just launch the project in any Operating System and you should be fine.
- Upto 100 Audio Tracks supported: Play around with different audio clips – not just videos.
- Improved User Interface and UX
Filmora9 Features
Of course, you will find more details in the changelog on their website. But, if you want an overview of the features it offers, here they are:
1. Filters, Effects, Titles
Filters, effects, and Titles come handy when you want to enhance your video content. It features a lot of usual filters and some unique ones as well. As for the effects, you can utilize the ones that come baked in with the software – or download from the cloud store where you can get a lot of amazing effects. You could observe some freebies and most of the premium stuff which needs a subscription.
In addition to these, you also get unique pre-made title styles – so you do not need Adobe After Effects or any similar tool to design title styles.
2. Transitions, Overlays
Transitions and overlays help you make the video look professional when you create something unique. Similar to effects and titles, you can find some new items on the online store.
3. Sound Tools
Music definitely matters when it comes to an immersive experience in a video. You can even download more appropriate background music from the built-in audio library as Filmora9 comes with a built-in audio library. Although not all audio tracks are FREE, you’ll surely find some good tracks to add as background music in your videos.
4. Compositing
Need green screen effects? You’ve got them here. Explore your creativity by adding any kind of layer you want in the background.
5. Full 4K Support
Most of the video content creators should be alright with 1080p resolution. However, some might need the 4K support when they decide to upload 4K native or just use the raw matter to scale down use it instead.
6. Multiple Video Imports
Import multiple videos to utilize different content for over 100 layers to make things interesting.
You get the ease to share your video directly to YouTube or Vimeo directly from Filmora.
Filmora9: User Interface & User Experience
The user interface and the user experience of software tool matter the most. I’ll prefer a simple tool which offers better user experience over something that provides more features with poor user experience.
In this case, Filmora9 stands out of the crowd. It is indeed well-designed for the best possible user experience. I’ve used Adobe premier pro for my work – but I’ll definitely say that Filmora’s UI is quite intuitive.
The Performance
All things considered, UI and features are just the tip of the iceberg. The real deal is performance. How long does it take to process a video? Is the editing experience smooth enough?
Let’s find out in brief:
I used a 1080p RAW video file (1.6 GB) to process. To test, I just added some random text and a couple of effects/transitions.
I observed that you can utilize proxies to make your editing experience faster – by using scaled down resolutions of the video in the work area to avoid any crash/slowdowns.
The export process for a short sample was fast enough and quite impressive.
Note: This is not a solid Benchmark of the editing process. It’s just my user experience with the basic editing tools using Filmora9. And, I did not observe any issues.
Pricing Plans
It is one of the most affordable video editors for Windows/Mac out there.
You can get the lifetime license for just $59.99 as a one-time fee – excluding the access to the online store (separate purchase).
If you want the complete access to the online store and the software itself – you will have to subscribe to its annual plan which is $100 (approx). For Mac, you will find the pricing plan a bit higher (a couple of bucks more).
Short Guide: How to Edit Videos On Filmora9?
You can refer to Filmora’s official learning guides on their website to know more. But, for a kickstart – let’s just take a look at the options which you need to utilize in order to edit your videos:
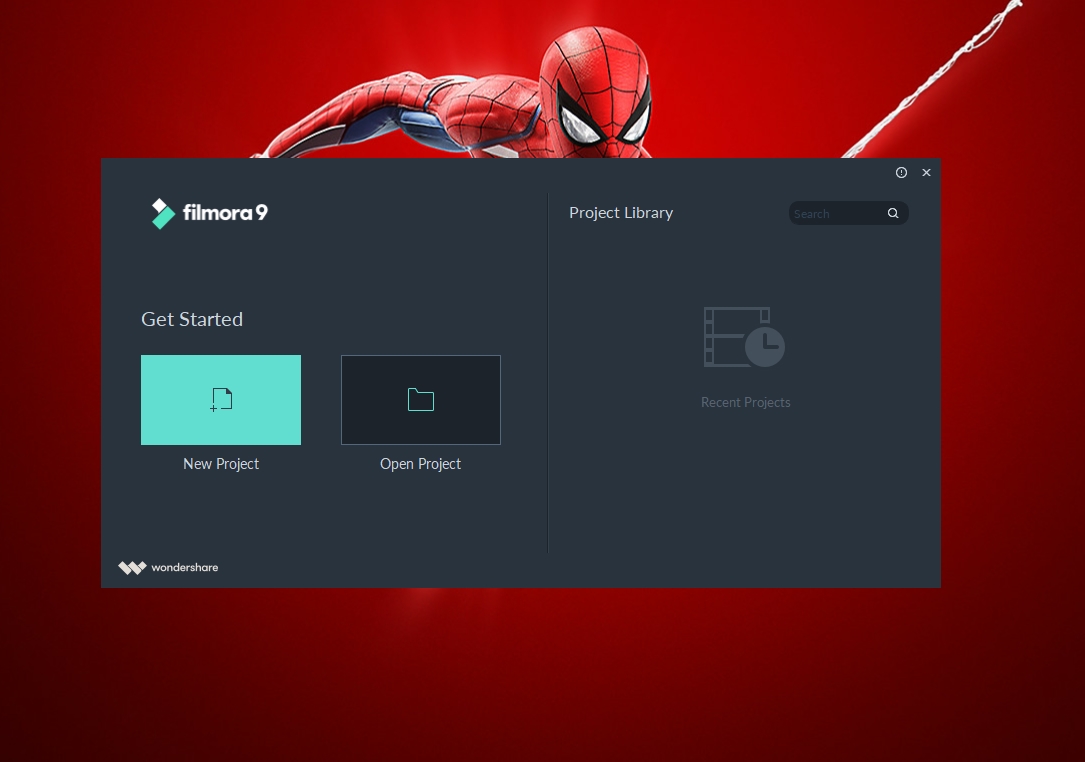
- Launch Filmora9 after successful installation. Upon launch, you will be asked to open an existing project or create a new project.

- You need to create a new project (As shown in the image above).
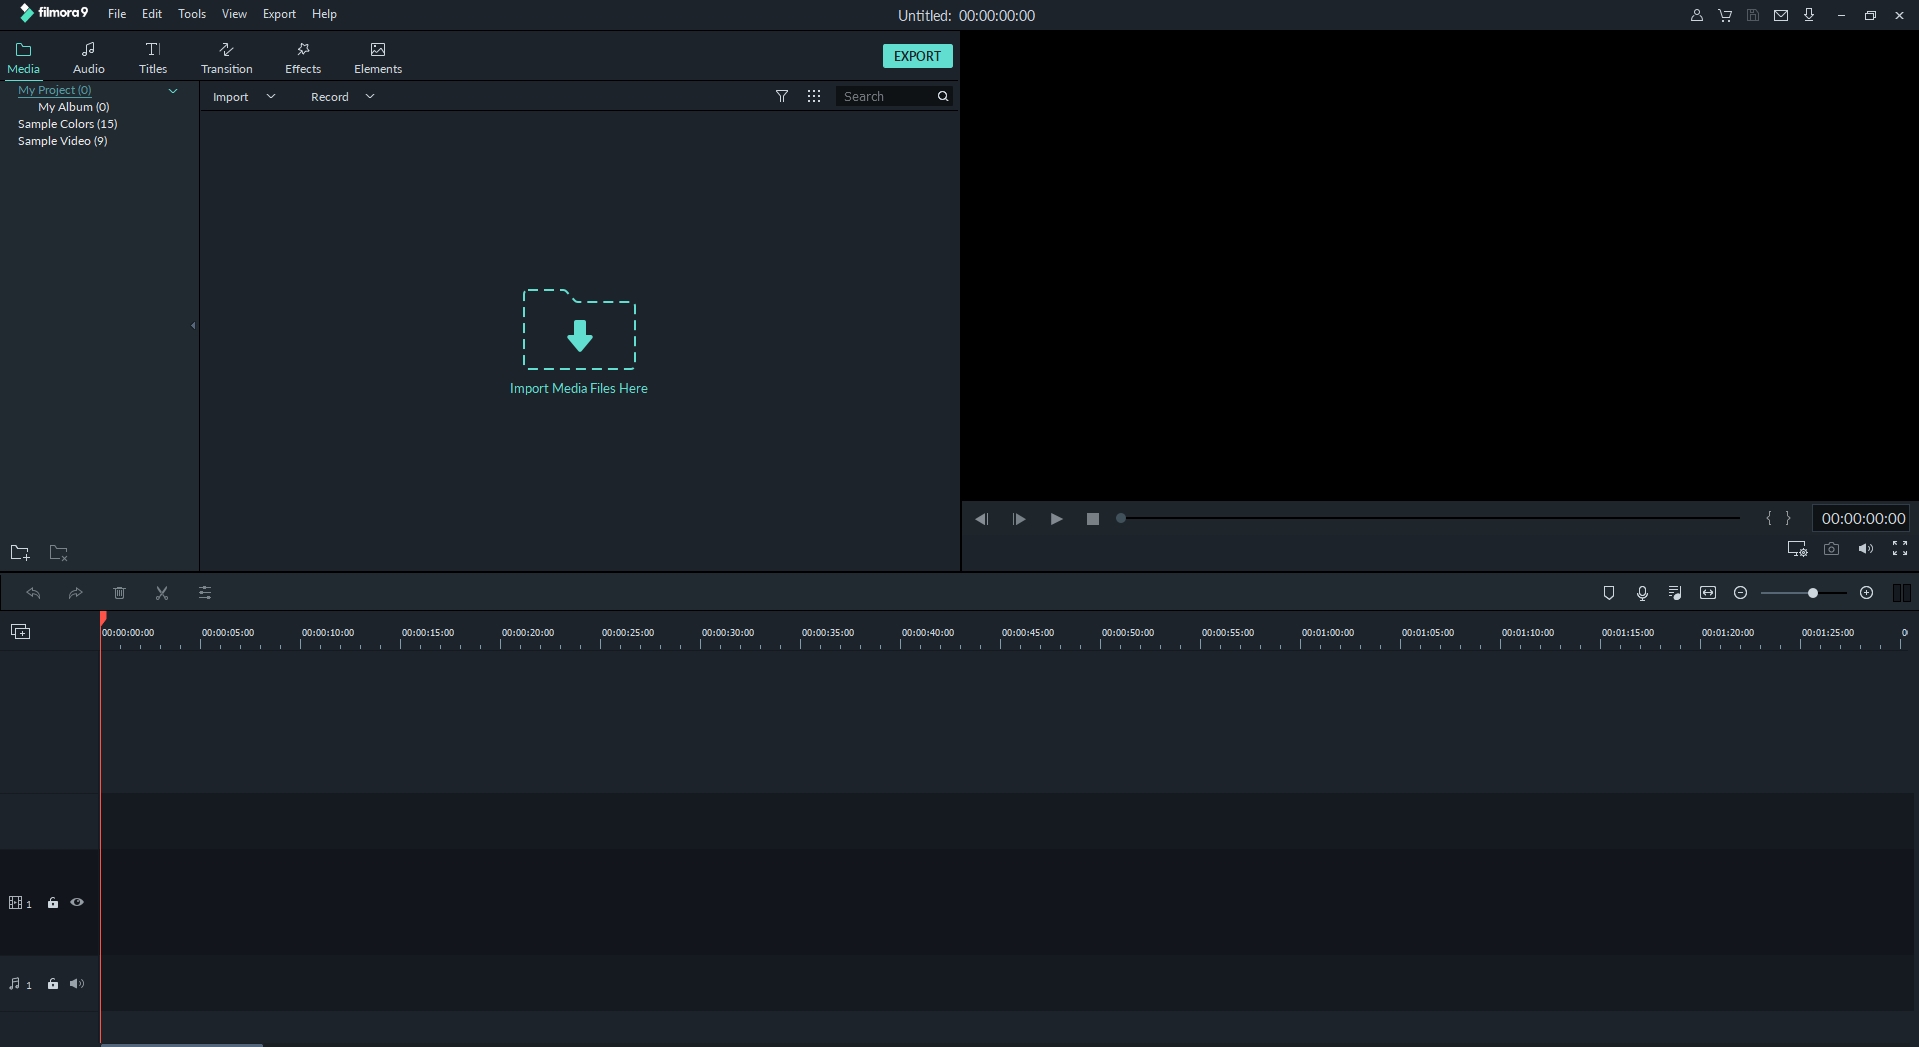
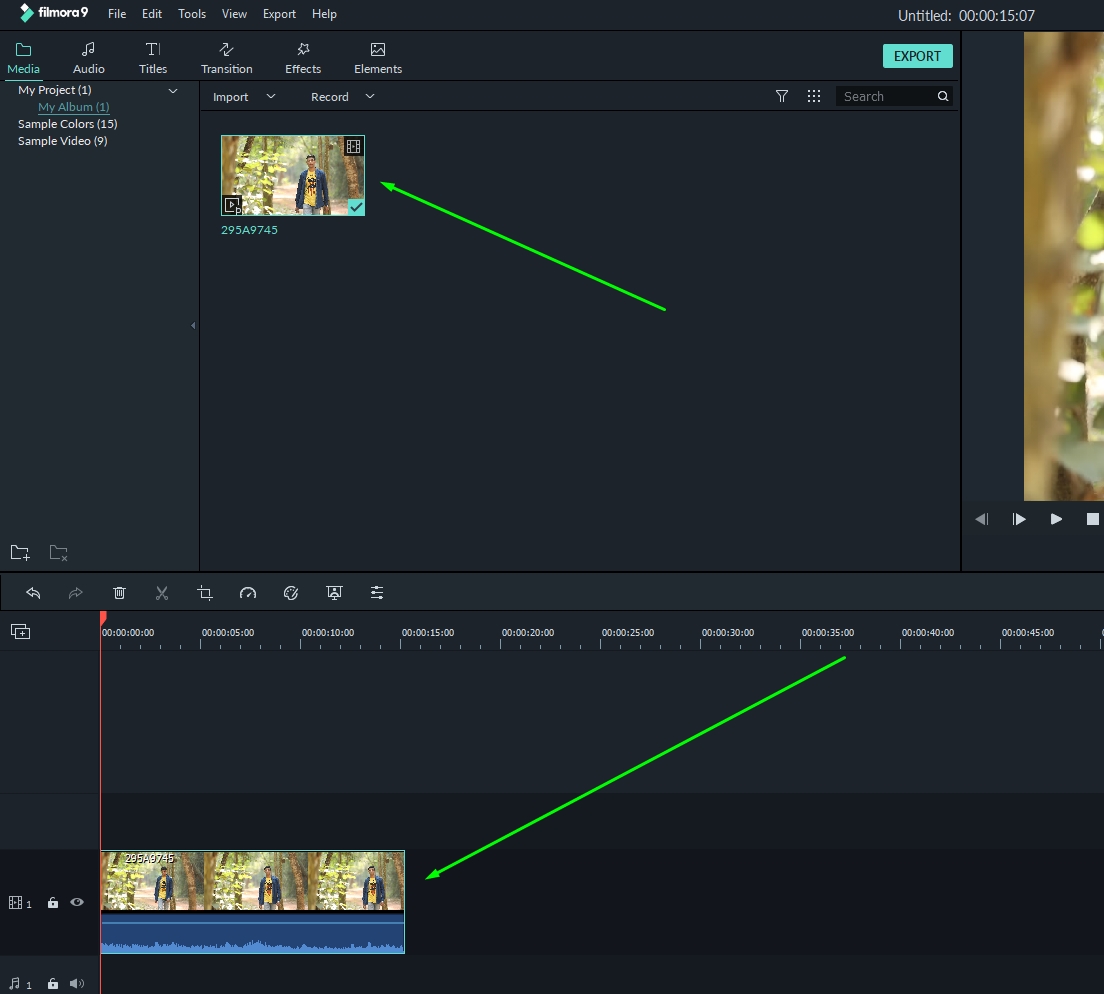
- Next, the main work area will show up where you will get the option to import the video (as shown in the image below).

- It supports a lot of video formats – so choose the one from the list of files visible to you.
- After upload, it will show up. You might even get a popup asking you to use proxies in order to make the editing experience smoother – you can proceed with that option.
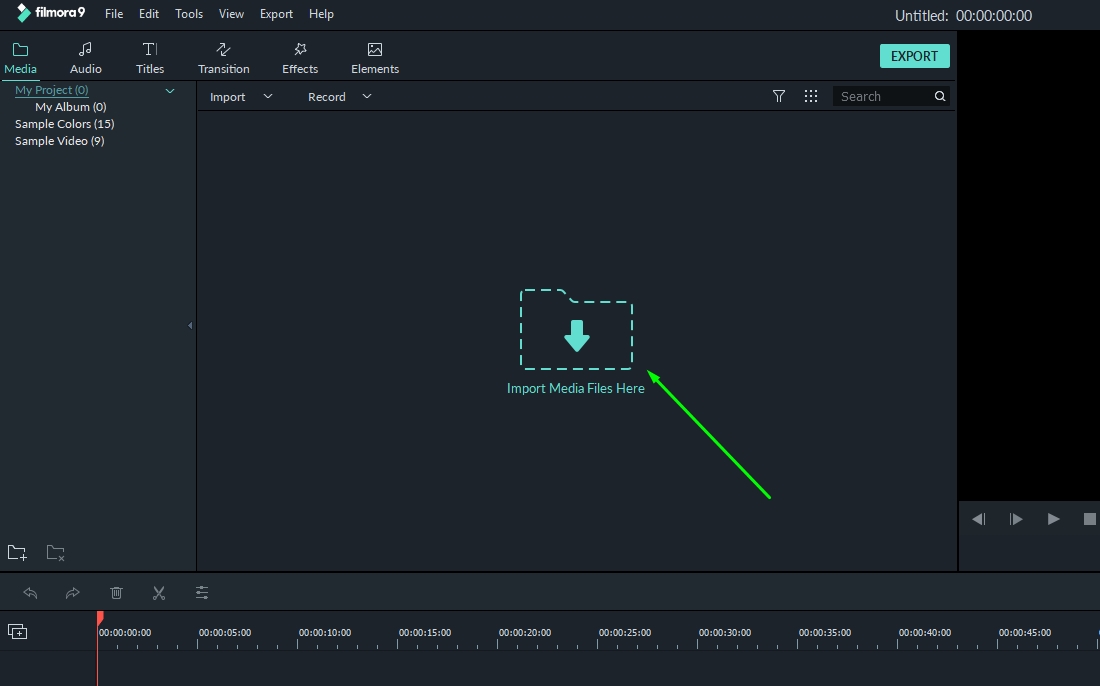
- You need to then drag the video clip to the timeline below in order to start working (as shown in the image below). In addition to that, you’ve got the audio, titles, effects, and so on. Everything else works the same way – you just need to drag and drop.

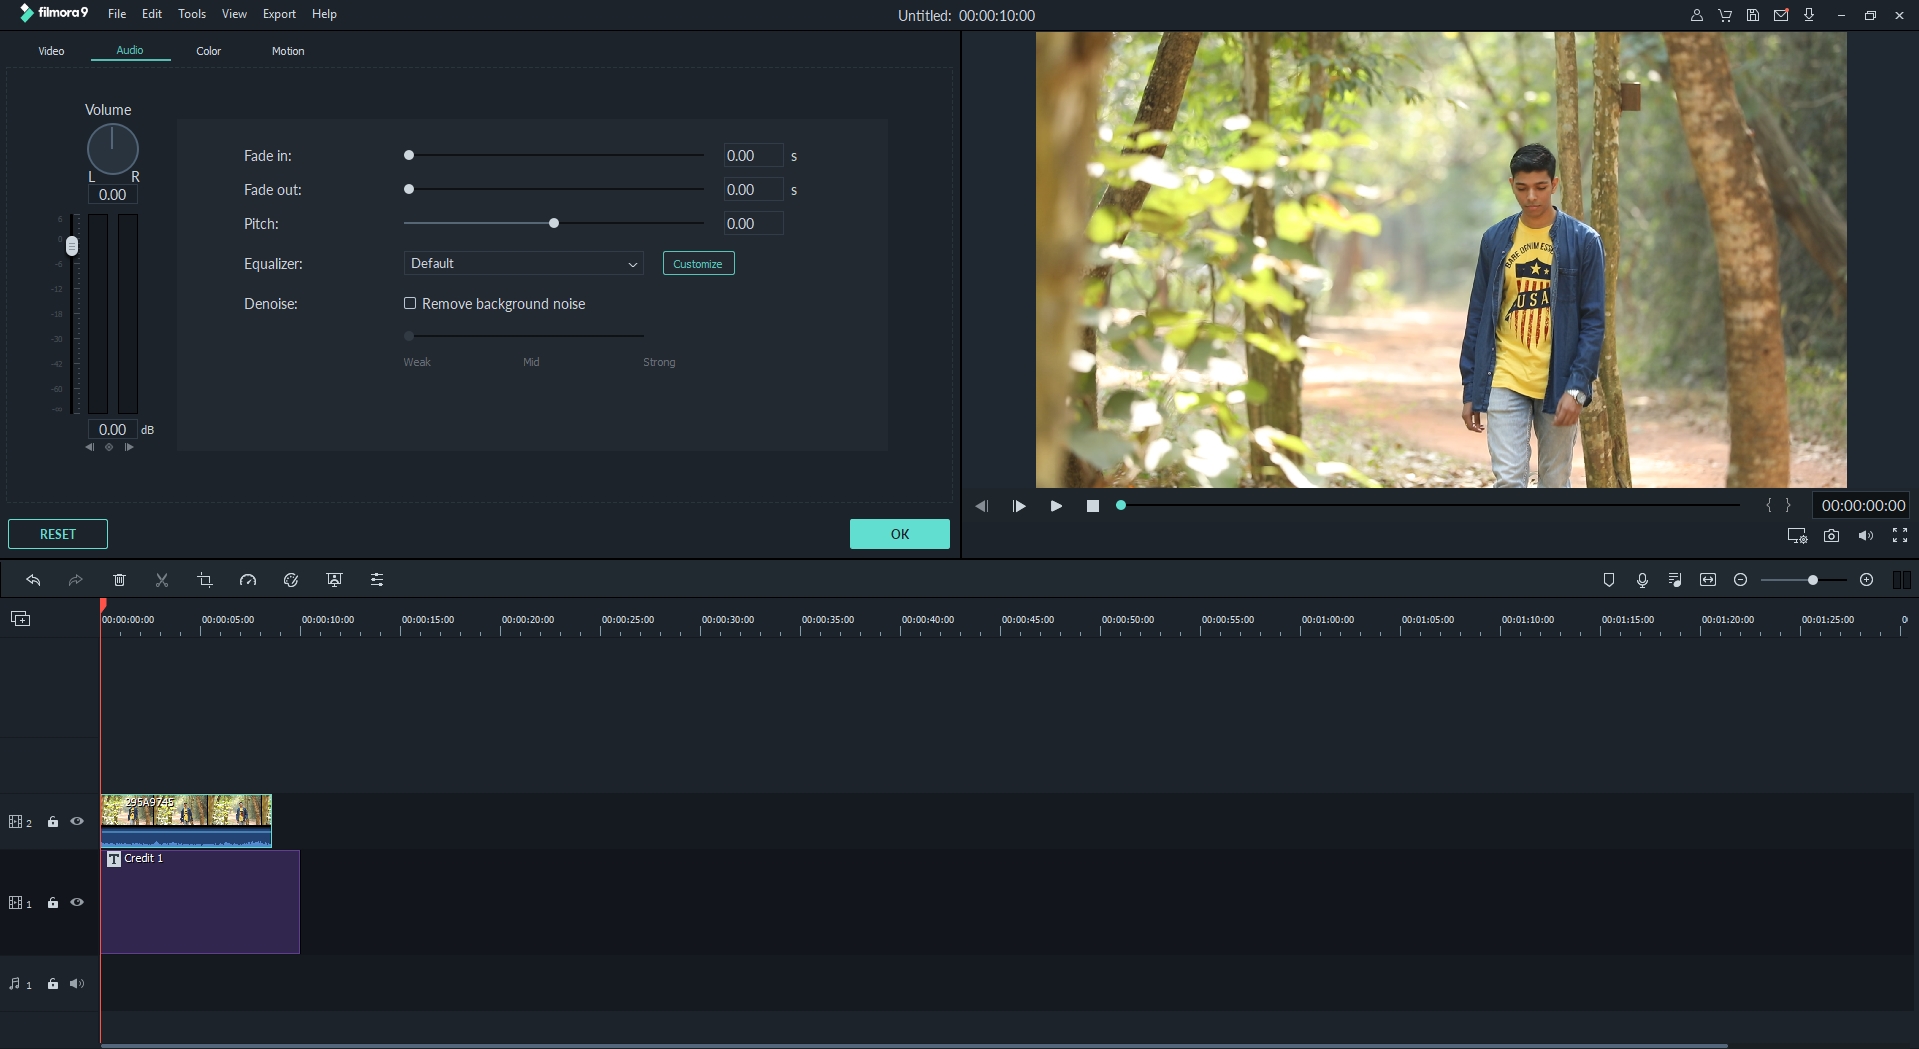
- However, to access advanced options, you need to select the clip and then proceed with the color correction/slow-mo/stabilization.
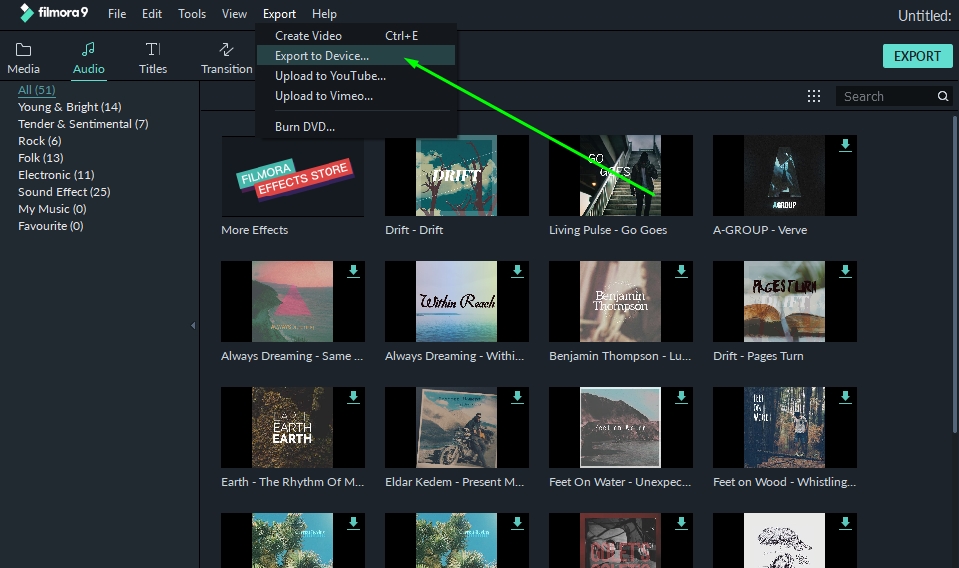
- The official learning center should help with the advanced options – and after you’re done with that, you can easily export it using the export option.

Final Verdict
Filmora9 is definitely a promising update to its previous iteration and an amazing video editor for what it’s worth. Don’t believe? Download Filmora9 and try yourself.
The set of features paired with a great user interface makes it an attractive video editor for a lot of video editors and content creators.
What do you think about it?
Let us know in the comments below.